Hello, Internet! The time has come to make the actual dress for my Rose Tyler cosplay.
 |
| pinterest.com |
The base dress I started with was a Goodwill find from a several months ago that I bought with the original intention of turning into Cinderella's pink dress (hence the strange white fabric along the top.)

When I lost interest in the Cinderella idea, the dress just sat, waiting for me to do something with it. Rose came along and I had a plan!

 |
| tumblr.com |
If you watch the skirt in motion, you can tell it has lots of extra material, especially near the bottom.

Then I hemmed the bottom of the skirt using matching pink thread. I don't know exactly what thread it is because it came in a fashion design kit I got when I was little, so I've had it for a while and it isn't labeled.
At the top of the skirt, Rose has a series of knife pleats.

Actually, if you look closely, Rose has a box pleat at the center of her skirt because instead of having all the pleats go in one direction, they run in both directions and meet in the middle.

In this picture, you can see some knife pleats and the center box pleat of my skirt.
If you don't know how to make knife pleats (I didn't until this project) here is the very helpful guide I found: a PDF from Utah State University that walks you through the steps. The box pleat is formed by the two different directions of pleats meeting in the center. MAKE SURE THIS PLEAT IS DEAD CENTER ON YOUR SKIRT. Trust me, it will just look strange if it isn't. Also, remember to press your pleats!
After this step, I set my skirt aside and began constructing the bodice of my dress.

I decided to use the bodice of my base dress because 1) it was the same fabric as the skirt and therefore the perfect color, and 2) I already had it. It isn't perfect because of the sweetheart neckline, but it kept my dress cost down. (All of the fabric used in the dress was either recycled from Goodwill or something I already had at home, so the dress cost around $9.) I had to take out the seams along the sides and make them slightly roomier because the top was so tight I could barely breathe. Obviously, if you are making your dress from scratch you will not have this problem. However, this served me well because while the bodice was in pieces I was able to attach the sequins.

I bought another Goodwill dress for its sequins and had to do some dissecting to get the sequins off without destroying the fabric, which is just mesh with sequins sewn on.
 |
| Sorry this is upside down. |
Ultimately, I did get it off... and made a huge tear down the center. Luckily, because of where the tear was, I was able to sew it back shut without it being too obvious.

Then I pinned the sequins to the bodice and pinned the side seams shut.
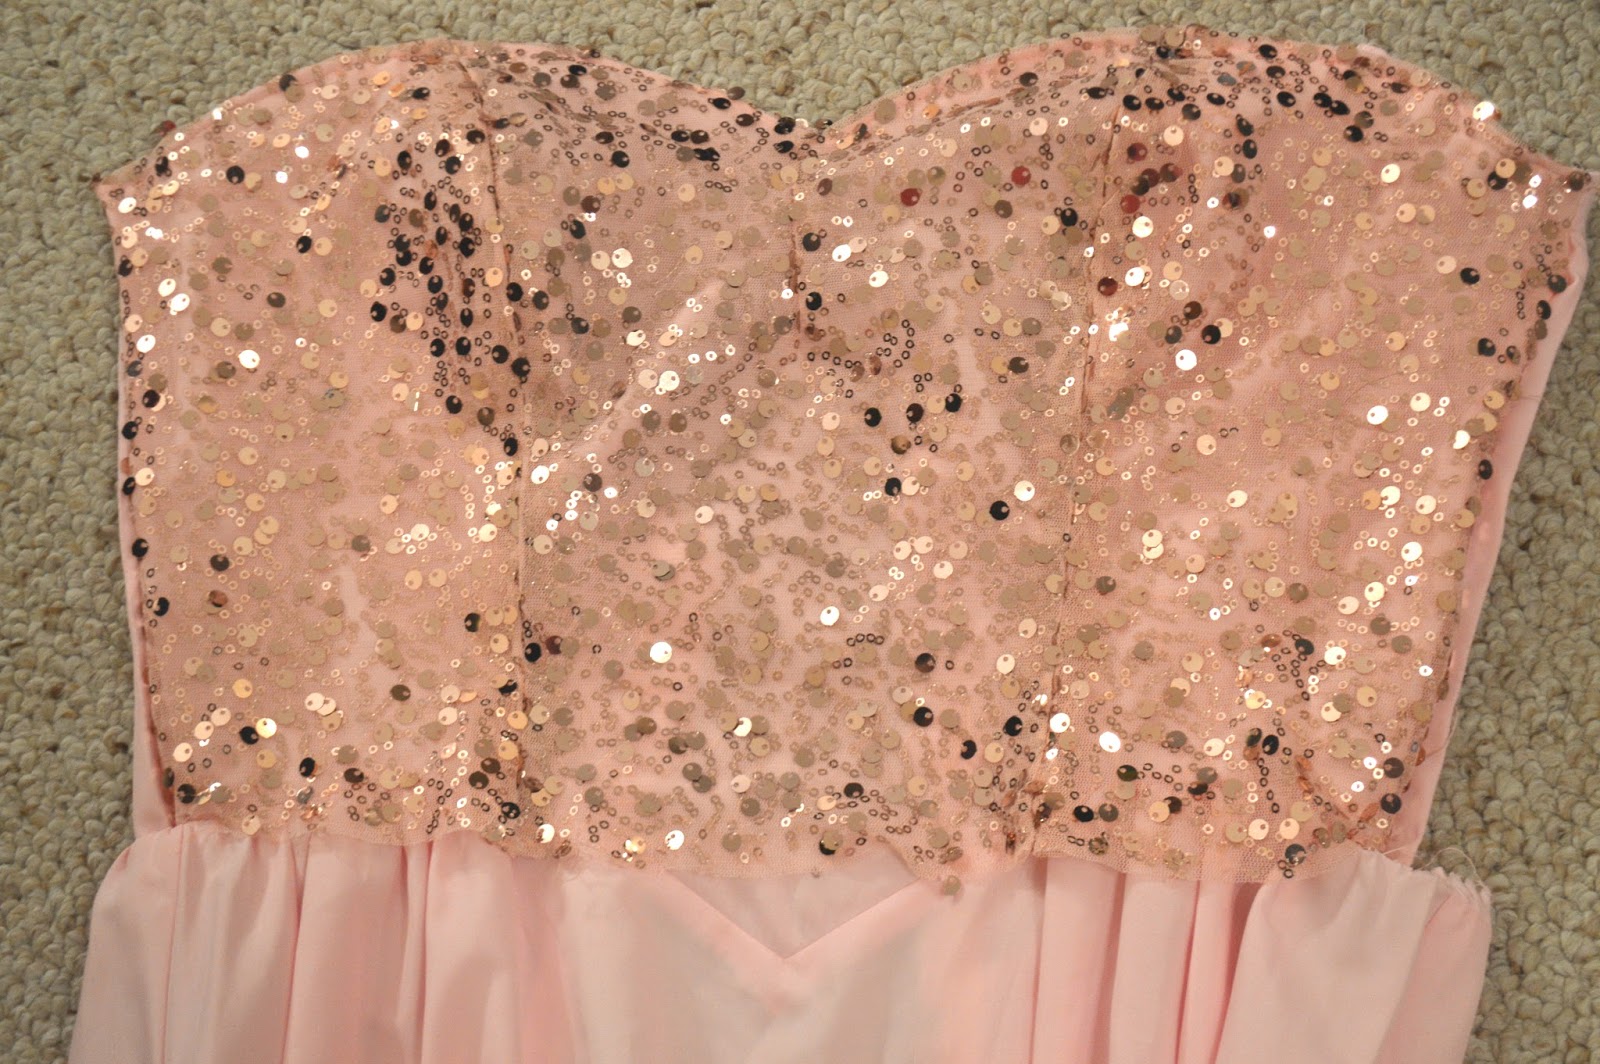
Sewn on: I have one seam along the top of the neckline and then the two inside seams on the sides.

I made two ribbon straps and attached them to the inside of the dress (making sure the seams were under the sequins.)

I pinned the skirt onto the bottom of where the sequins were, making sure that layer of fabric was inside of my seam and that the box pleat was in line with the sweetheart neck. Then I sewed it together.

There is the finished skirt, showing those pleats again.

I also sewed the back seam of the skirt to the zipper hanging down from the back of my bodice.
That's it! For the most part, this dress was very simple.

I think it turned out pretty well!
Here it is with the jacket I got (which I found at Goodwill for $5... it isn't an exact replica, but it's pretty close.

The jacket alone:

It's by Wet Seal instead of Top Shop, is black instead of gray/blue, and has pockets in the wrong spot but I like it for what it is. It looks pretty similar to the original:
 |
| flickr.com |

Comments
Post a Comment