Good morning! To those of you who are missing my doll stuff, I have several posts in the works, including my review of Limited Edition Anna. Unfortunately, I haven't had a lot of time lately so my more complicated posts are on the back burner until Spring Break which (thank heavens) starts tomorrow.
I did want to post something today, though, and since I was looking through some of my pictures I thought it was a good time to start the cosplay tutorial I decided to throw together when I started working on my Frozen Fever dress. I wanted to make it and have it mostly done for when I went to see Cinderella in theaters on the 14th, and it came together fairly nicely, considering I made the skirt two hours before we had to leave and had to use pieces from my closet for the shirt and "corset" and just tie a bit of ribbon around my waist instead of the border of the corset.
I plan on making a new shirt and corset and adding the designs to everything, and when I do there will be more posts.
Since Frozen Fever is still extremely new, I want to share a series of tutorials on how I made the pieces in my cosplay to help those of you who want to make this dress, too, starting with the construction of her skirt. I've been sewing for about a year now, so this skirt wasn't all that difficult and took maybe an hour for me. I'm self taught, and I've learned what works and what doesn't work, though I do still make errors sometimes. I am a human. Hopefully this tutorial will make sense and help the rest of you. :)


Anna's skirt is a blue fabric that has several small, natural pleats and one large pleat in front. It reaches the middle of her calves. Underneath, she is wearing a crinoline.
To make this skirt, I used a dress I purchased at Salvation Army on a whim. I had liked the trim, but I didn't know what I would end up using it for at the time.


Then I carefully cut in a straight line from one edge to the other, right under the zipper.

This created a sort of tube, which I turned inside out and put on, then made my pleat. I'm not really sure how to explain what I did, so I made a diagram:


I did want to post something today, though, and since I was looking through some of my pictures I thought it was a good time to start the cosplay tutorial I decided to throw together when I started working on my Frozen Fever dress. I wanted to make it and have it mostly done for when I went to see Cinderella in theaters on the 14th, and it came together fairly nicely, considering I made the skirt two hours before we had to leave and had to use pieces from my closet for the shirt and "corset" and just tie a bit of ribbon around my waist instead of the border of the corset.
 |
| Ta-da! |
Since Frozen Fever is still extremely new, I want to share a series of tutorials on how I made the pieces in my cosplay to help those of you who want to make this dress, too, starting with the construction of her skirt. I've been sewing for about a year now, so this skirt wasn't all that difficult and took maybe an hour for me. I'm self taught, and I've learned what works and what doesn't work, though I do still make errors sometimes. I am a human. Hopefully this tutorial will make sense and help the rest of you. :)
To make this skirt, I used a dress I purchased at Salvation Army on a whim. I had liked the trim, but I didn't know what I would end up using it for at the time.
Cutting my skirt out was incredibly simple- I laid it out on the floor with the zipper up, smoothing the wrinkles around said zipper.
Then I carefully cut in a straight line from one edge to the other, right under the zipper.
This created a sort of tube, which I turned inside out and put on, then made my pleat. I'm not really sure how to explain what I did, so I made a diagram:
Since I had a lot of extra fabric, my pleat was fairly large, which was what I was aiming for.
Here's what my pleat looked like from the front while still inside out:
I opted for a simple elastic waistband rather than trying to put in a zipper or make a drawstring waist, but this is up to you. I think that technically, you are supposed to put a zipper in when you have pleats but I didn't have a zipper and I made this skirt about 2 hours before we left to go to the theatre so I didn't have time to pick one up.
I wrapped the elastic around my waist so that it was comfortably snug and pinned it, trimming the excess.
I slipped the elastic over my head and sewed the ends where I had pinned them.
Then I slipped it back around my waist, readjusted my pleat, and got ready to start the waistband.
I folded the fabric up above the elastic down with the elastic in the top of the fold and pinned the edge down.
This is when it becomes absolutely imperative that your skirt be inside out, unless you want the yucky edge of your fabric to be on the outside where you can see it.
Then I just sewed it up, careful to keep my seam away from the elastic hidden in the tube. This was a little hard on some of the folds because the fabric I was using was incredibly thick.
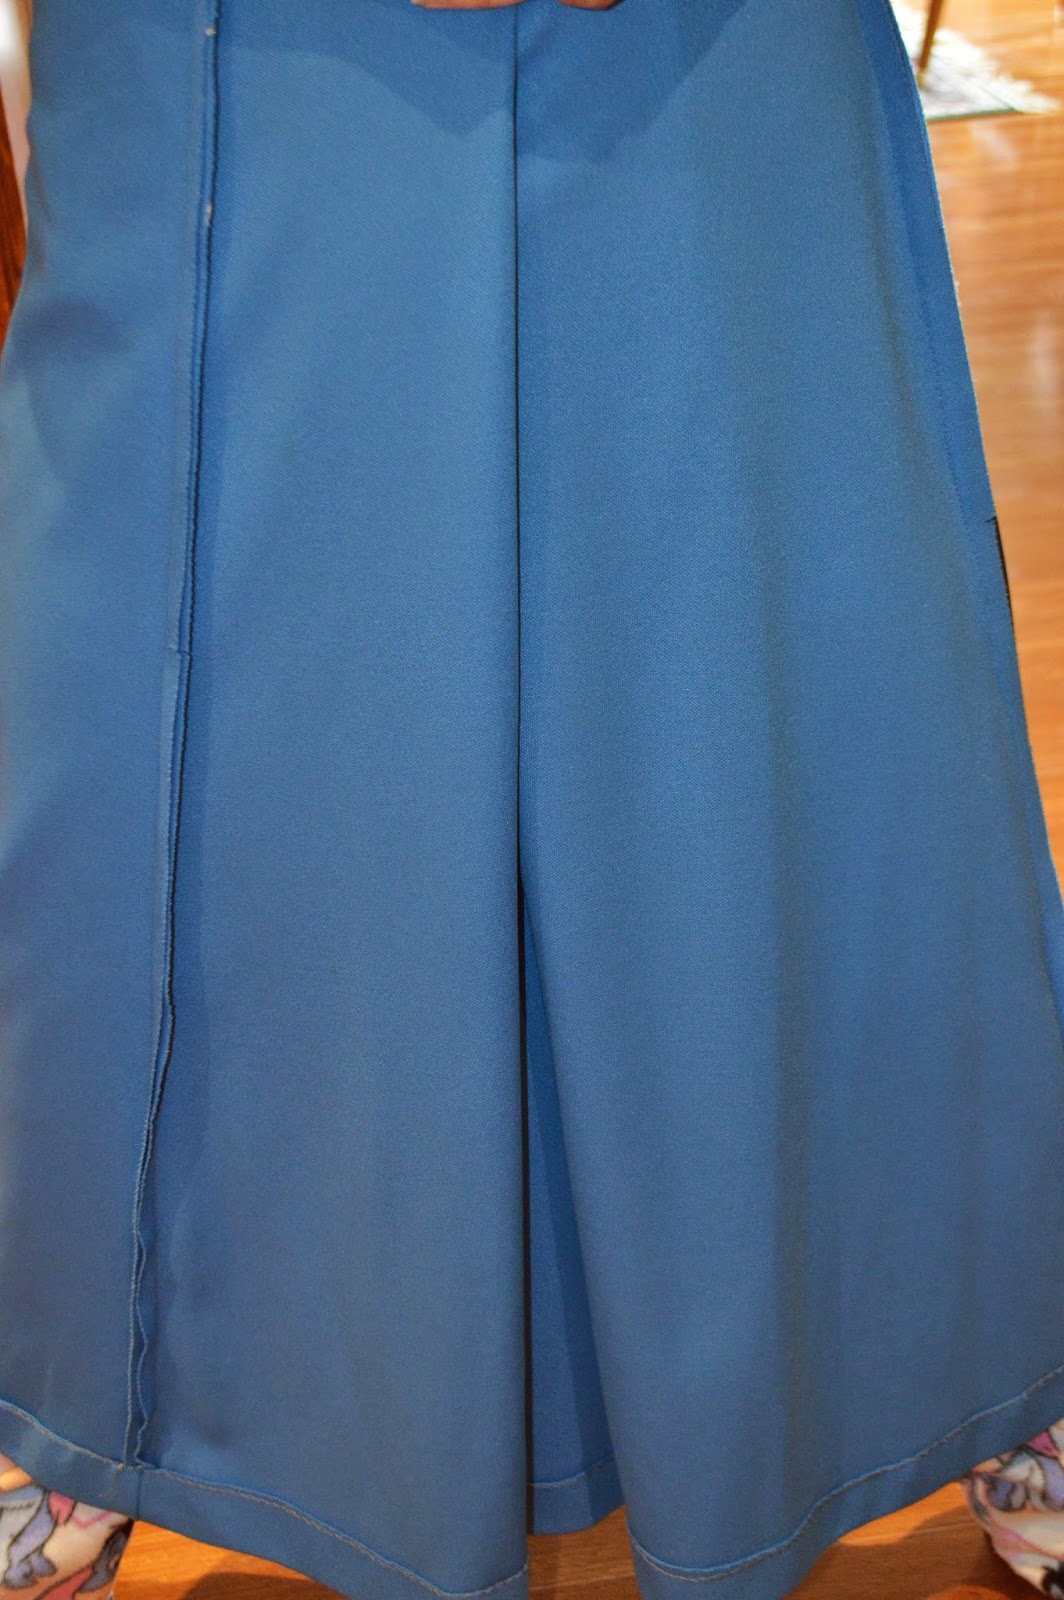
Once I had finished the waistband, I was done with the basics of the skirt . You can see how my main pleat came out in this picture.
My crinoline is one from an old Halloween costume. I've had it for as long as I can remember, and it did the trick perfectly.
You can find a similar one here.
I think it gave my skirt just the right amount of poof, don't you?
That's all for now! I'll be back soon with more doll related posts and a few more tutorials for this costume!
MyLittleMegara
PS. For those of you who were having trouble following Anna's blog, I helped her put a new widget in. Please try again so we can continue to work with it!
AHHHH it's beautiful!!!!!! :D
ReplyDeleteThank you!!!
DeleteOh another seamstress! I'm mostly self taught, like you, but my granmother helps me here and there when we can see each other. (I've only done little soft dolls and doll clothes though) It looks really pretty, you are really talented! :)
ReplyDeleteThank you so much, Meritre! I've also had a little help from my grandmother- aren't they the best?? :)
Delete